People are showing more interest than ever in purchasing products online. E-commerce platforms are gaining a lot of popularity and traffic.
With a lot of competition in the market, you should never miss out on any chance to maximize your sales and make your customers happy.
Integrating an additional payment system like google pay or apple pay can make it convenient for your customers and enhance the user experience of your store.
These payment methods being one of the most popular, trustworthy, and convenient methods can make the overall purchase experience a pleasant one. Integrating these payment methods into your woocommerce store is extremely easy and is completely free of cost.
This article explains to you all the nitty gritty about how you can integrate google pay and apple pay with your woocommerce store for free.
How to Integrate Google Pay and Apply Pay
Step 1: Click on Plugins -> Add New
Step 2: Search for Stripe Payments For WooCommerce by Checkout Plugins.
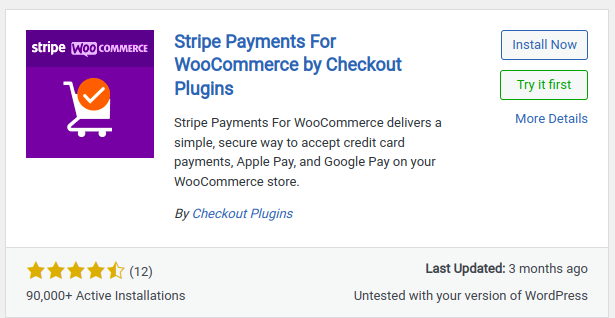
Step 3: Install and Activate the Plugin
Step 4: Once the plugin is activated, click on the Settings option of the plugin and press the Connect with Stripe button
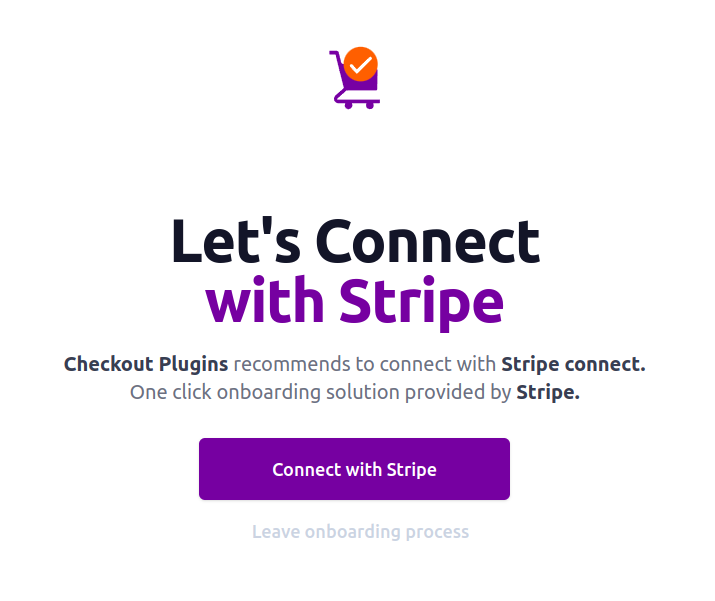
Step 5: You will get redirected to the setup page. Enter the email and password associated with your Stripe Account.
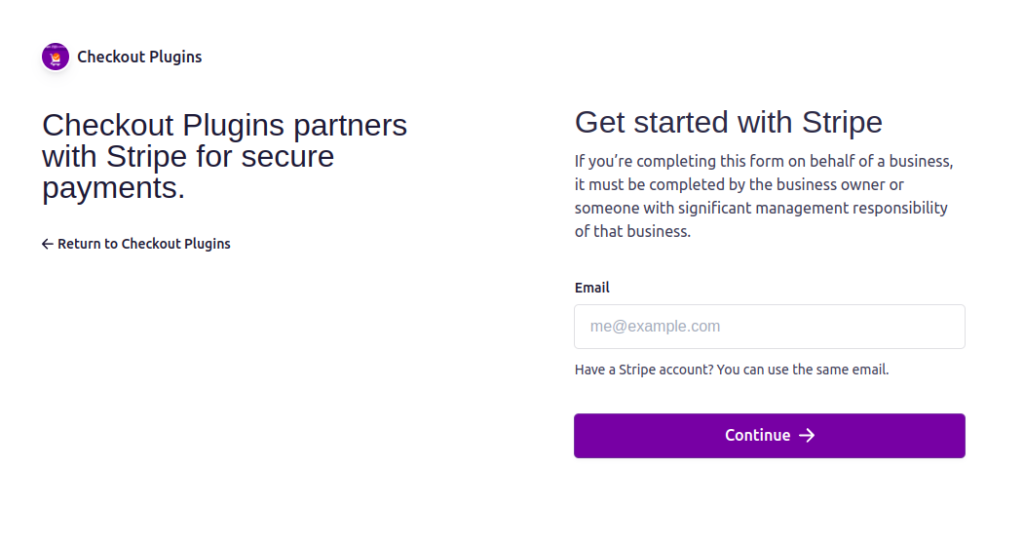
Step 6: Enter the verification Code.
Step 7: Now select your stripe account and Click on Connect
Step 8: If the connection process was successful, you will get a Congratulations page.
On this page, you can enable different payment gateways. The Stripe Card Processing Payment Gateway is enabled by default. Leave it as it is. And Click on Enable Gateways button.
Step 9: On the following page, you will get the option to enable the Express Checkout feature. This includes the Apple pay and Google pay payment methods. For now, Click on Skip Express Checkout
Step 10: On the next page, you will be asked to enable webhooks, Click the Skip button here as well
Step 11: Click Let’s Customize button. You will be taken back to the wordpress dashboard.
Step 12: Now in the WooCommerce Settings tab, Click on the Express Checkout Link
Step 13: Check the Enable Express Checkout checkbox. Here you can customize all the settings related to express checkout.
Customize the button text, theme, the pages you want to show this button on, button position, separator text, responsive behavior, and layout for every page. You will get a live preview of how the buttons will look on the right side.
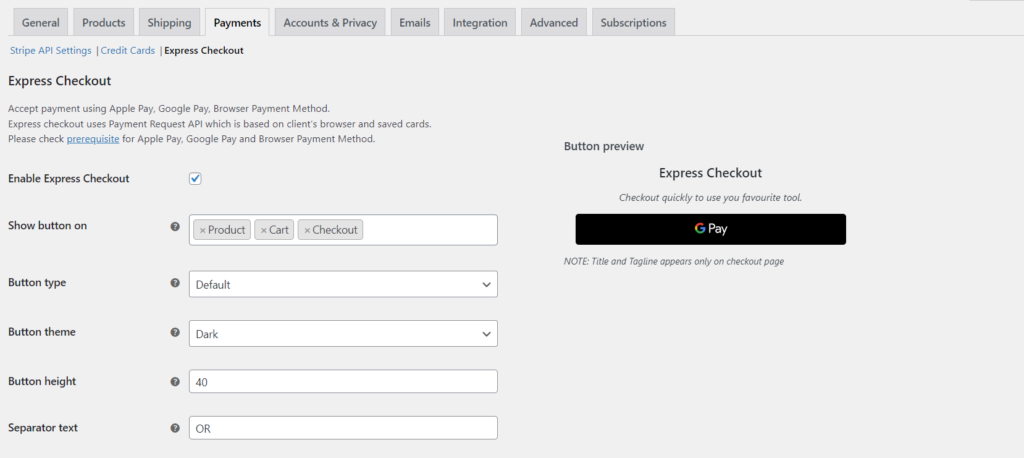
If you have made all the necessary changes click on the Save Changes button.
Now navigate back to your online store’s checkout page. You can find the Express Payment Option.
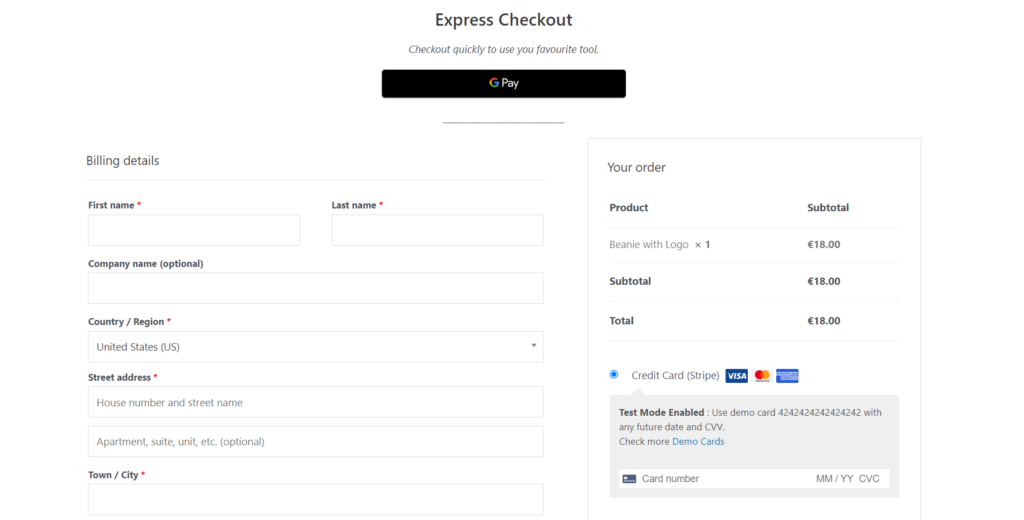
If you use Safari Web Browser you will have the Apply Pay button displayed instead of the Google Pay button.
You have successfully integrated Express Checkout Payments like Google Pay and Apple Pay into your woocommerce store.

