Squarespace has Squarespace scheduling that allows you to create Scheduling websites to manage appointments.
You can easily add or integrate scheduling to your existing Squarespace website.
It has all the features that are necessary to create an online appointment. In this article, we have covered all the information that will help you create an appointment booking site in Squarespace.
Table of Contents
How to setup Squarespace scheduling
Step 1: Visit Squarespace Scheduling
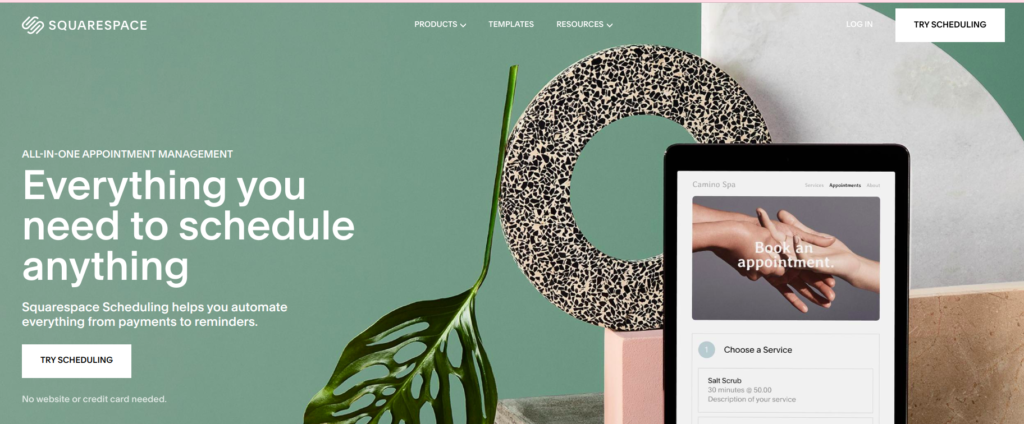
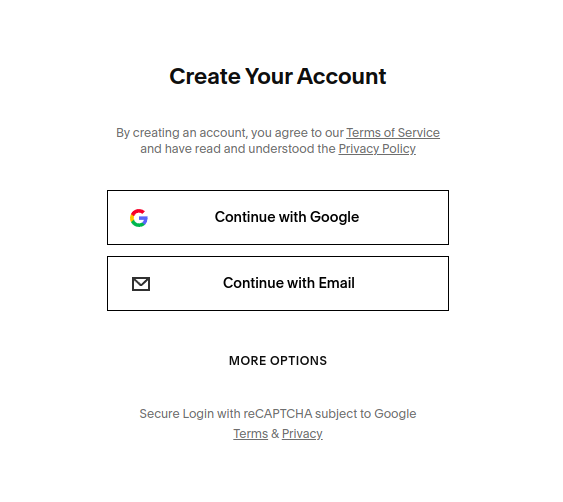
Step 2: Click on Try Scheduling. Sign in with your Google Account or Email.
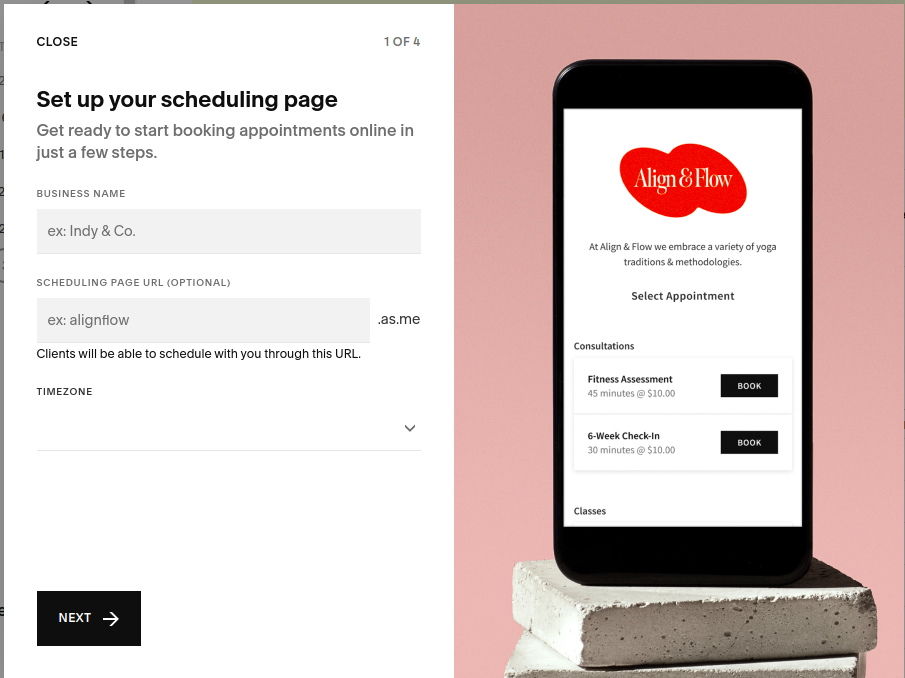
Step 3: In the Setup Wizard, Enter your Business name, a custom URL for your scheduling page, and the Time Zone. Click Next
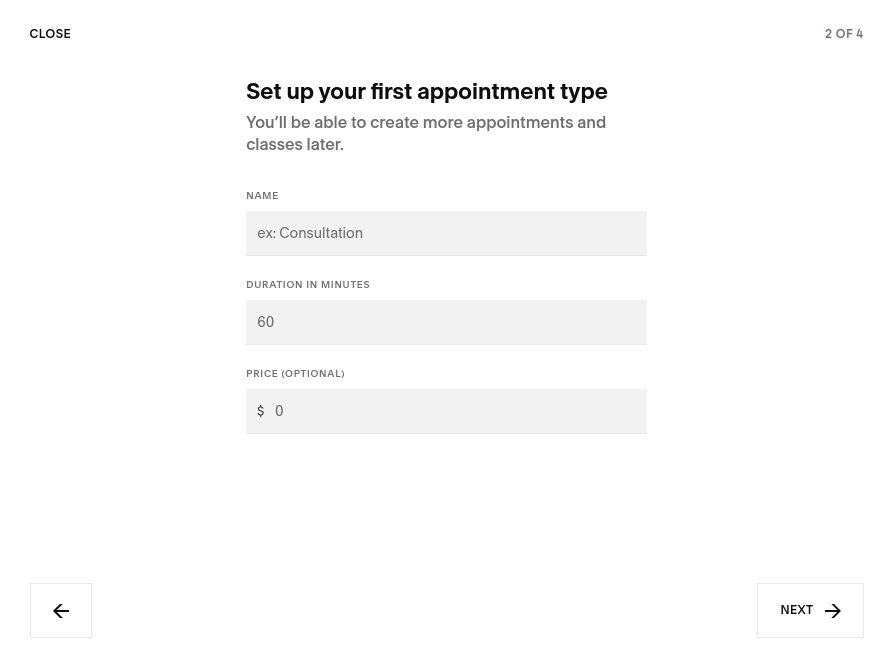
Step 4: In the next screen, enter your Appointment Name, Appointment duration, and Price.
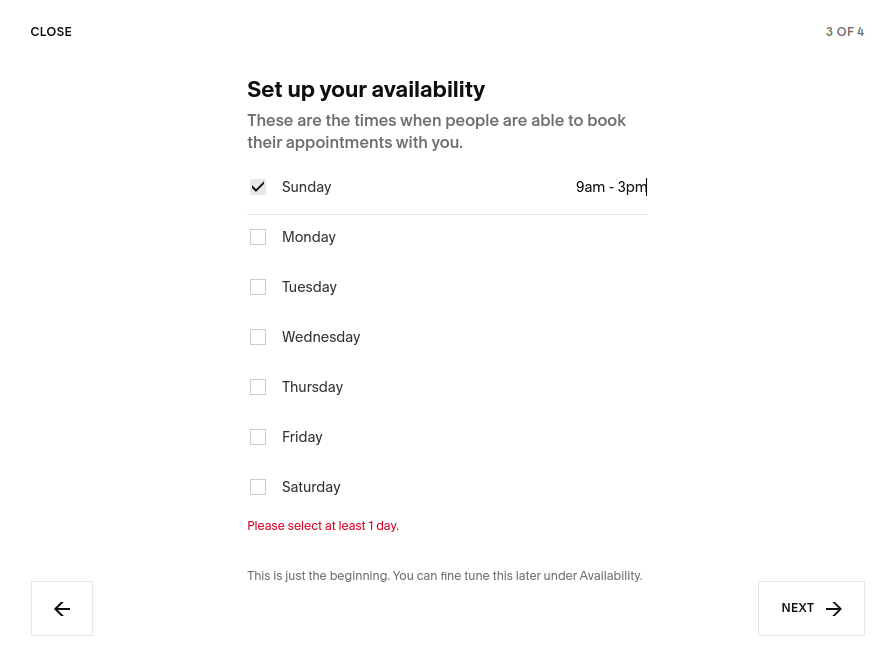
Step 5: In the next screen, set your availability. Select at what times of the day you offer your service. For every day you select, enter the time that you will be available. You can select multiple days.
If you are done, Click Next.
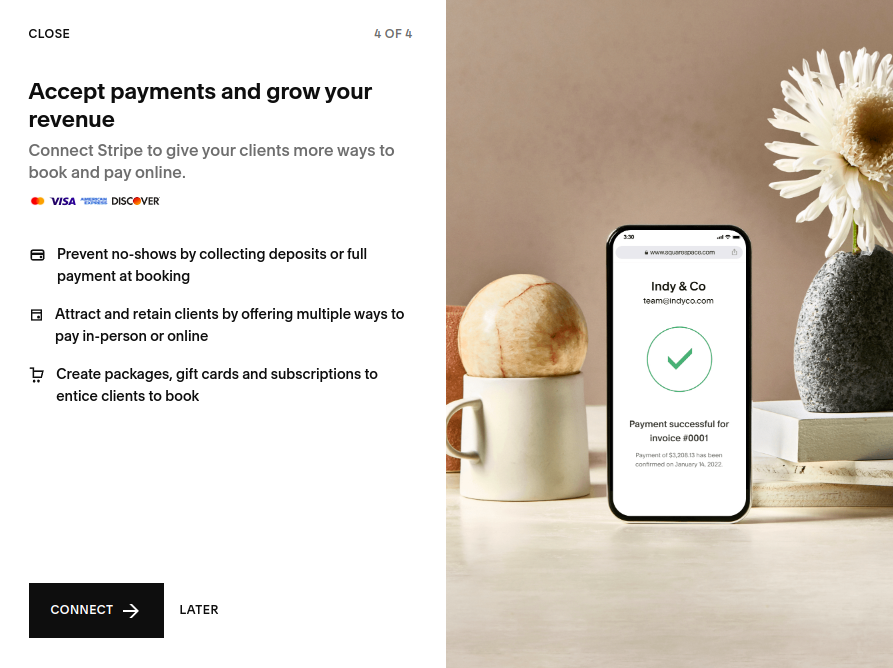
Step 6: On this page, you are asked to connect your payment method. You can Click on Connect to connect with your stripe account. Or click Later to complete the process later.
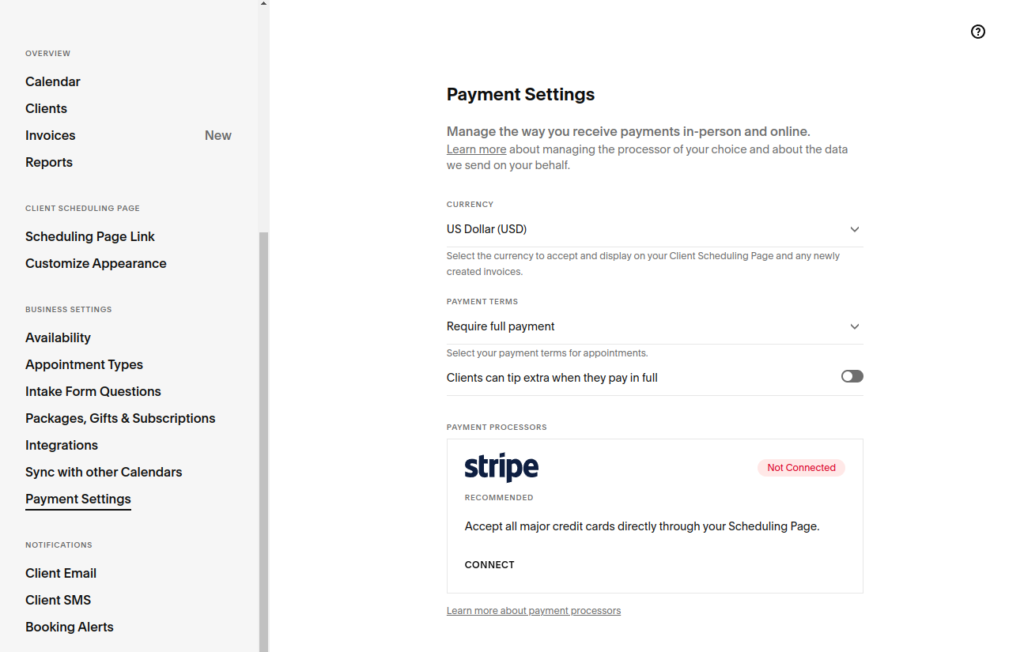
The Payment Settings is available under the Business Settings options. Here you can connect your Stripe, Paypal, and Square Payment options.
Features of Squarespace Scheduling
With Squarespace scheduling, you can create any type of service. Classes, Consultations, Meetings, Events, Doctor appointments, and a lot more.
You can integrate Squarespace scheduling future not just in a Squarespace website but with any website.
Clients can book their appointments using the scheduling calendar. You can either embed the calendar within a website or just share the link of it with the required people.
Booking Types
Squarespace scheduling offers two types of booking.
- Service Booking – For One to One sessions like Consultations, Appointments, Counselling, etc..,
- Group Classes – For events in which multiple people are involved. Eg: Community Meetings, Yoga Classes, etc..,
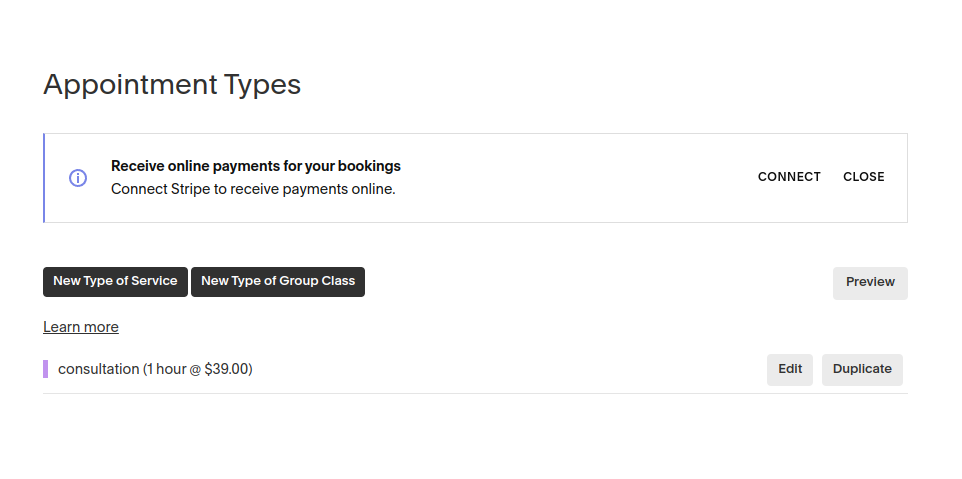
The Appointment Types Setting is available under the Business Settings options. You can create the type of booking service you want.
Appearance
There are two types of Calendar views. A Monthly View and a Daily View Calendar to book appointments.
- Daily view – Gives detailed booking slot information for every day. works great for everyday booking.
- Monthly View – Suitable for booking weeks in advance.
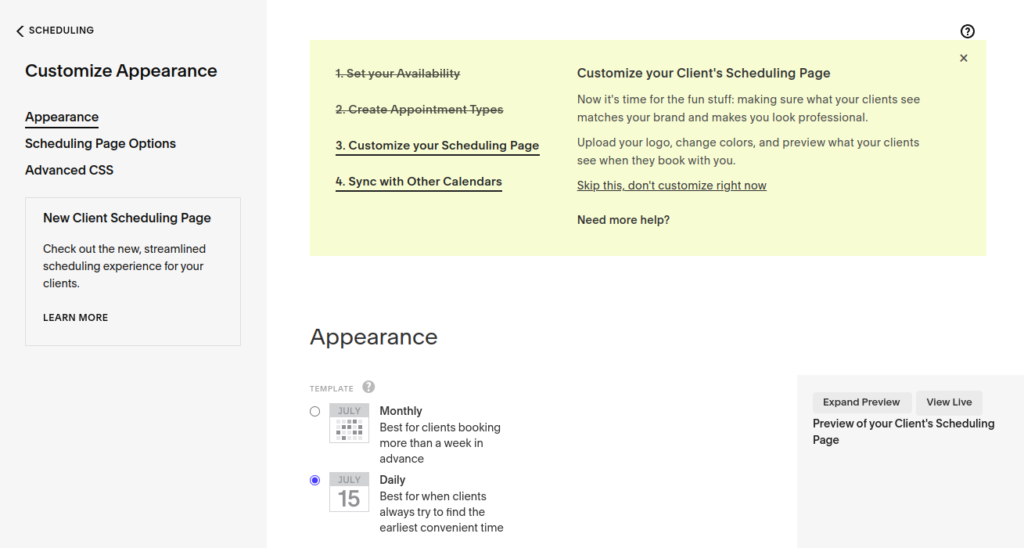
You can edit all the information related to your online service in this section. Change the title, Scheduling Instructions, Button Color, Logo, Time Format, Language, Time Zone, and other details.
The Preview of the Changes is visible on the right side.
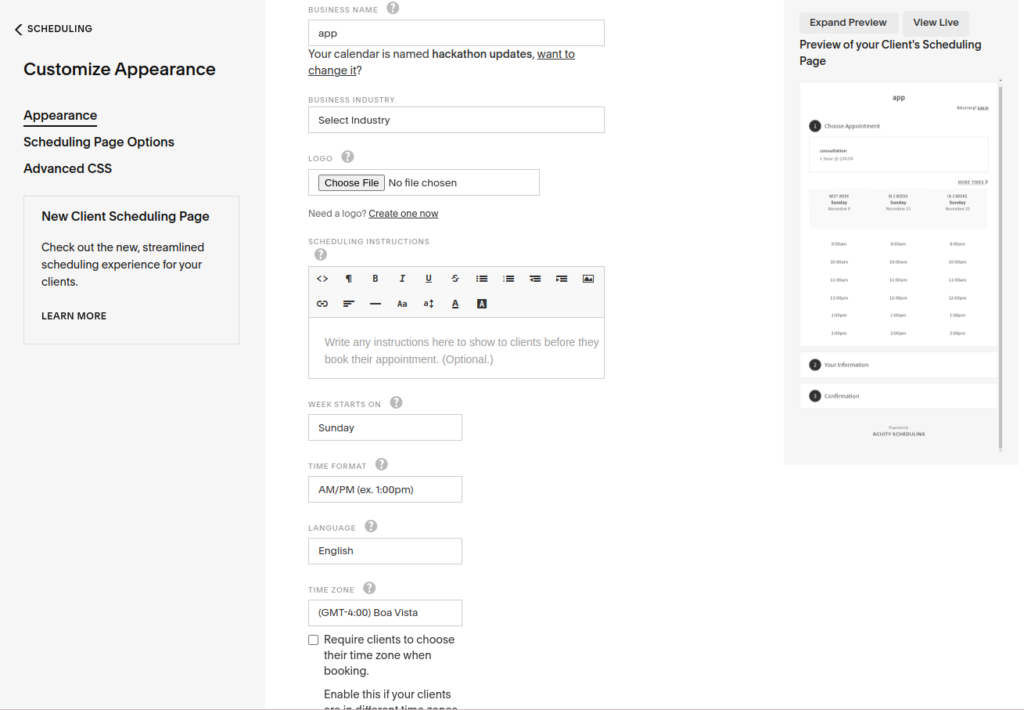
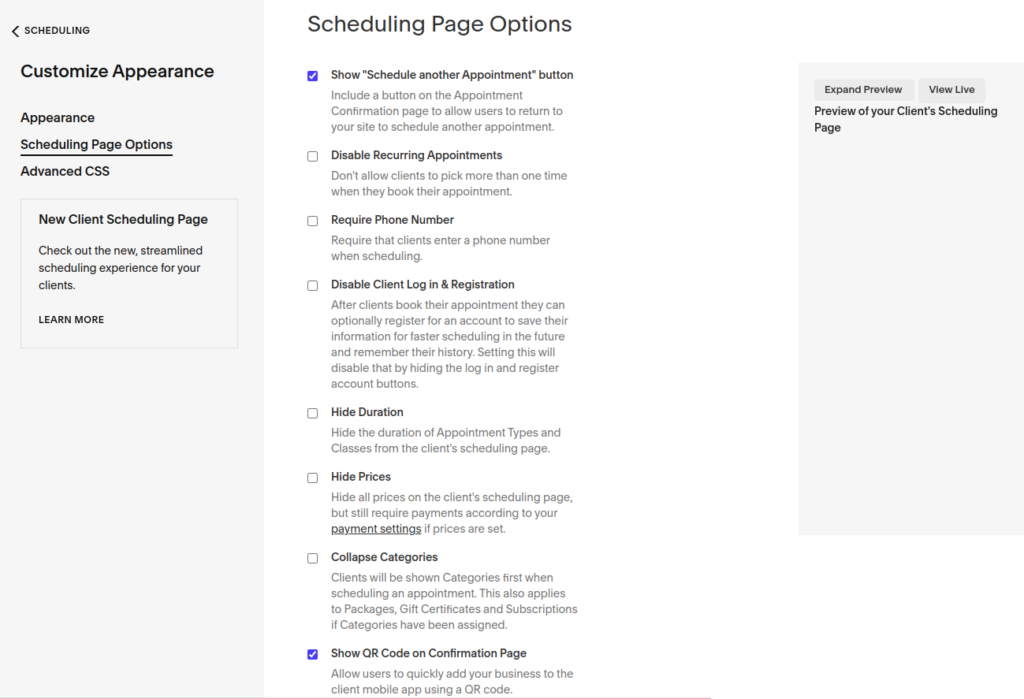
Under the Page Options Settings, you can customize the appearance of your scheduling page. Some of the options include disabling recurring appointments, Hiding Duration, Prices, and other settings.
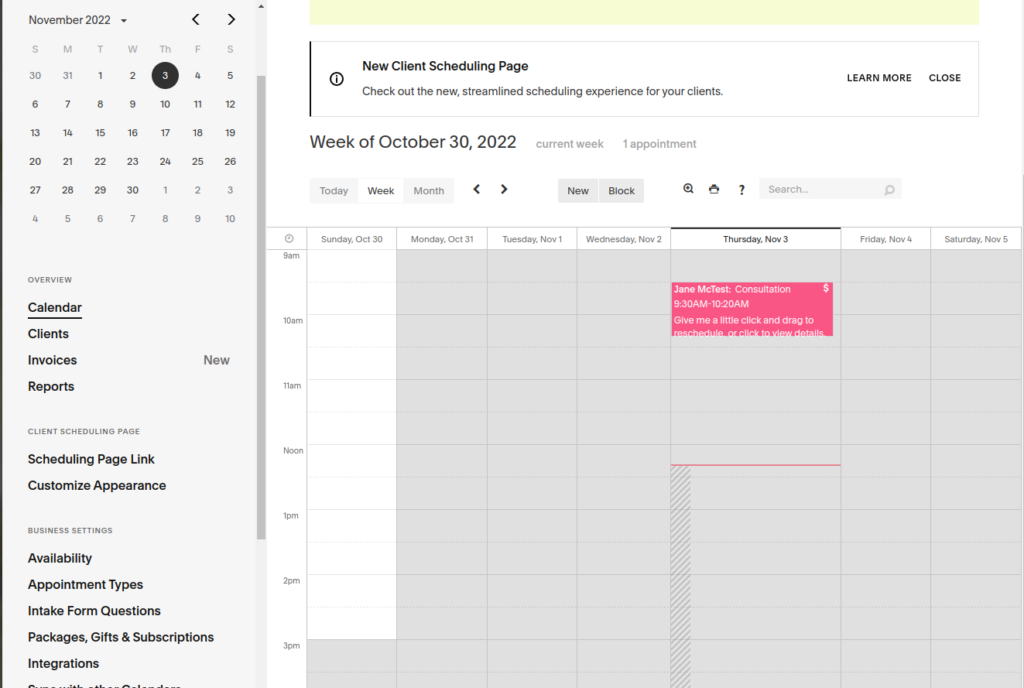
Calendar
This Calendar will give the admin an overview of all the appointments booked along with information like Date of booking, Client Name, Timing, and Duration. You can easily change or reschedule any appointments here by just drag and dropping.
Generate Invoices
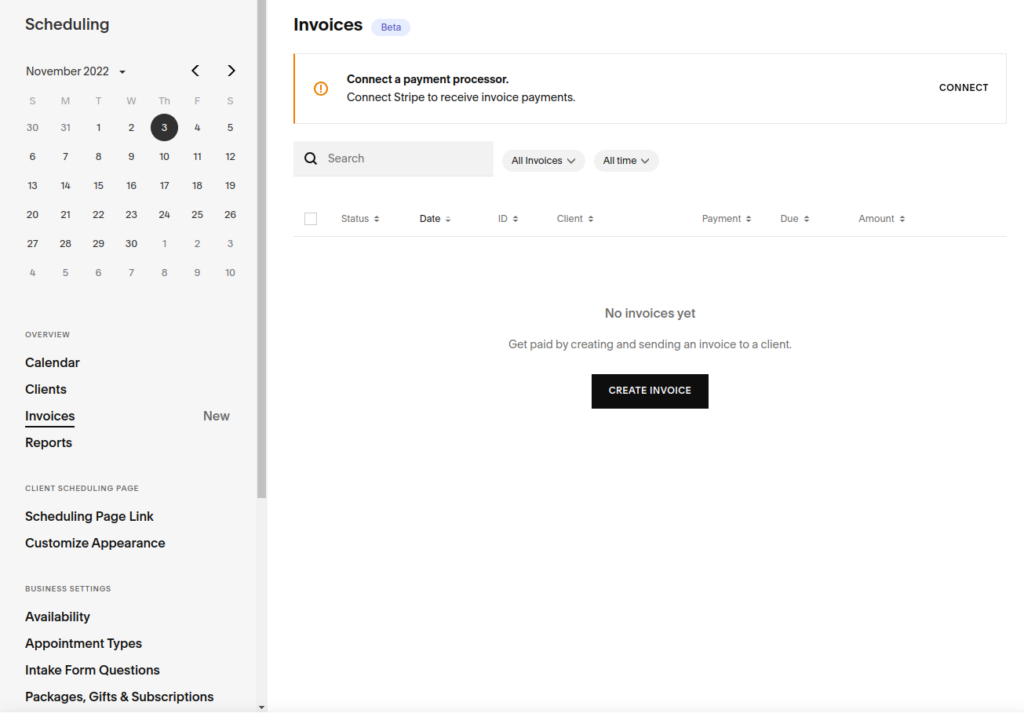
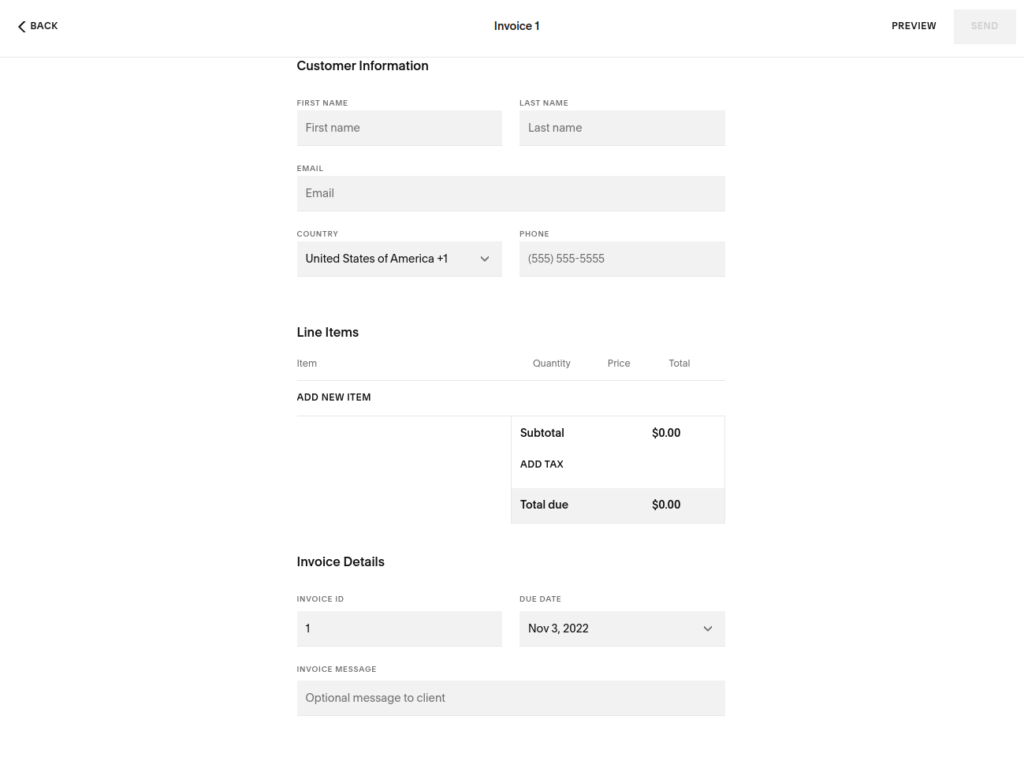
Here you can generate invoices for your clients. Create invoices and send them to the client’s email in a single Click. No need to use any additional software or tool for invoice generation.
Reports
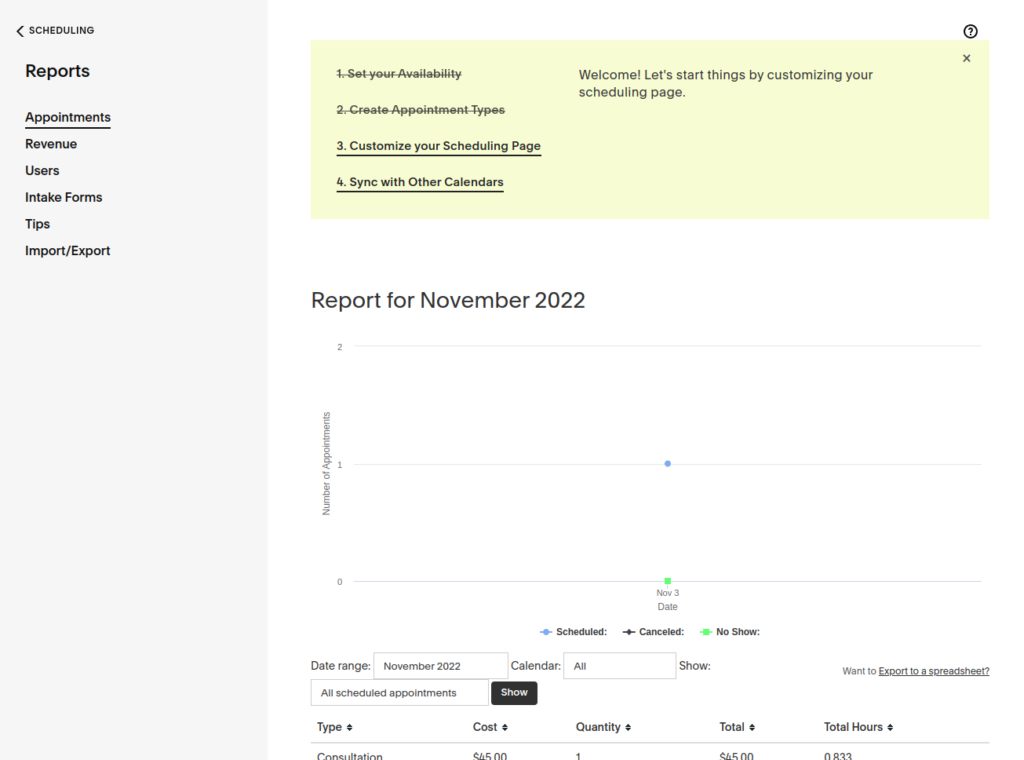
You will get analytics and reports about clients, bookings, payments, and more.
Remainder & Scheduling
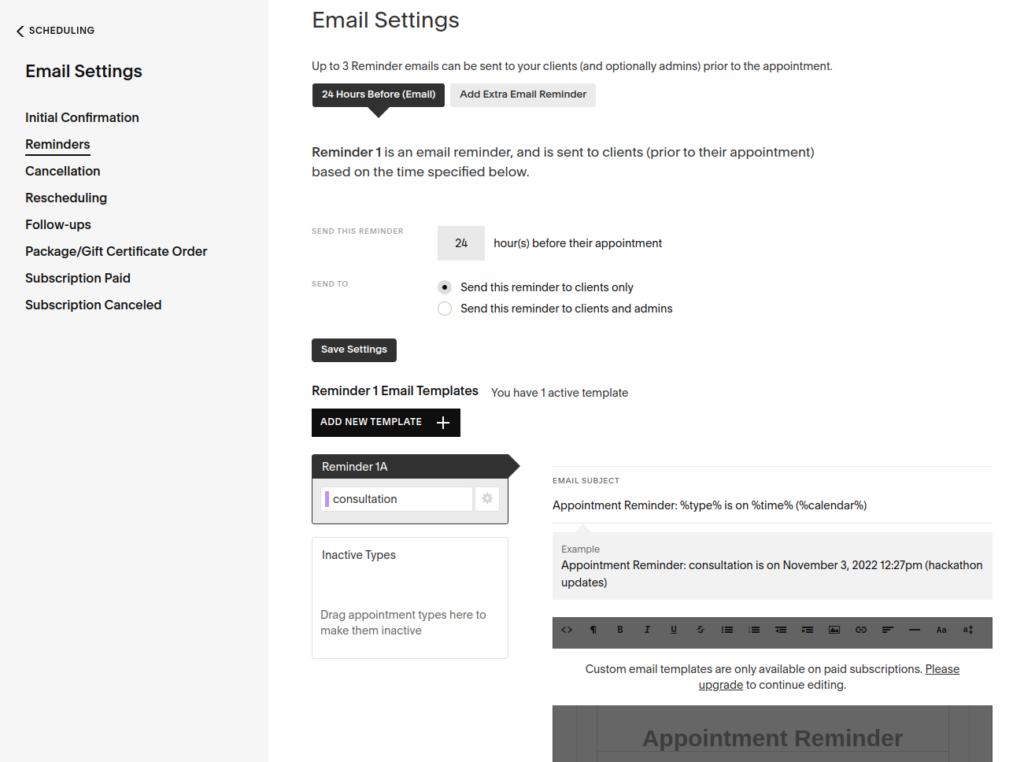
Whenever an appointment is booked, you will get notified about it along with appointment-related details. You can also set the exact times before which you need to be reminded about the appointment.
You can Send email notifications for initial confirmation, reminders, cancellations, rescheduling, follow-ups, and subscription details. Not just that, you can also customize or edit the email template that you send to your client before and after the appointment.
A feature to send SMS notifications is also available.
Sync
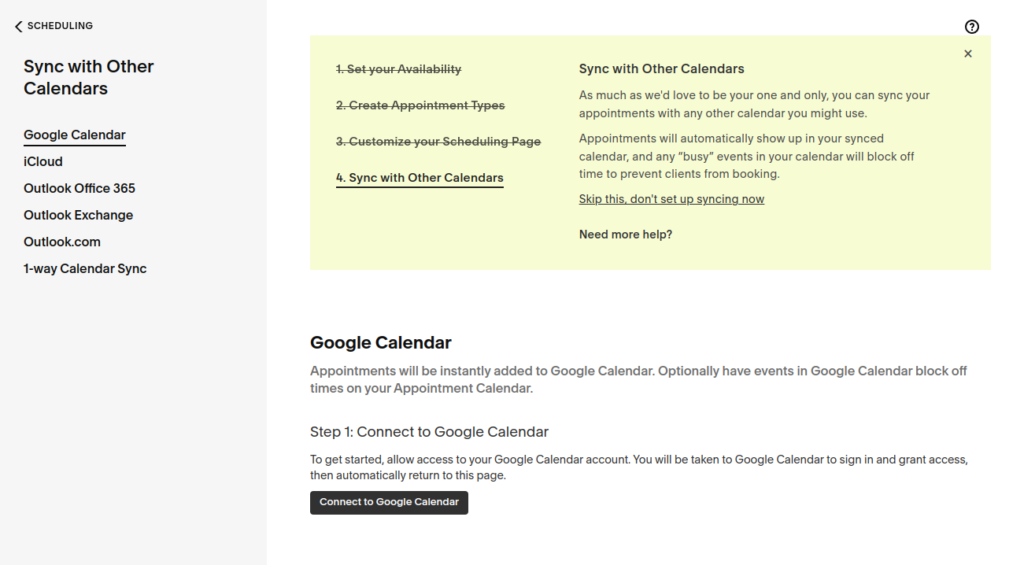
The booking details can be synced with Google Calendar, iCloud, Office 365, Office exchange, or Outlook.
Clients
Here you can Add new clients and get an overview of all the booked clients and their information.
Intake Form
You can create a form that clients need to fill out before booking your appointment. This acts as a lead magnet and also helps you know better about your clients to serve them better in the future.
How to Embed Scheduler into your Website
To embed your scheduling booking system into your website, Squarespace offers different methods.
Integrate with Squarespace – In Squarespace, you have an appointment Scheduling Block. You can integrate your scheduling system using this block.
Direct Link – A Direct link is used to share your booking system with your clients. Also share it on other platforms.
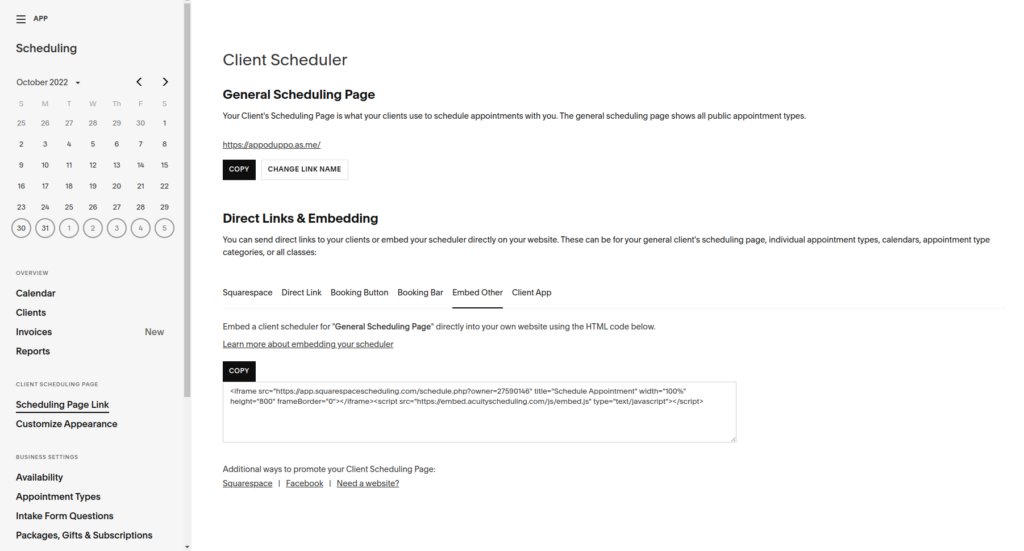
Booking Button – If you want to just integrate or embed just the appointment booking button into your website. Copy the HTML code of the booking button and paste it into your website’s code.
Booking Bar – A booking bar similar to a booking button, helps you book appointments. Copy the HTML code and embed it inside your webpage.
Embed Other – Use this option to embed the complete booking system into your website.
Conclusion
The features in Squarespace Scheduling aren’t just limited to the ones mentioned in this post. There are lots more for you to explore. Also, Squarespace is frequently updating its platform and bringing in new features.
Squarespace Scheduling without a doubt is one of the most robust and secure appointment booking systems that you can integrate not just with your Squarespace website but with any type of website in general.
If you are looking for a tool to create an online appointment booking system, then Squarespace Scheduling is definitely a choice to consider.

